Incredibly Blessed Nest Blog

Incredibly Blessed Nest

  • HOME
  • ABOUT
  • CONTACT
  • The MidWest Modern Farmhouse
You are here: Home / Christmas Crafts / Easy DIY Ornaments

Easy DIY Ornaments

December 21, 2018

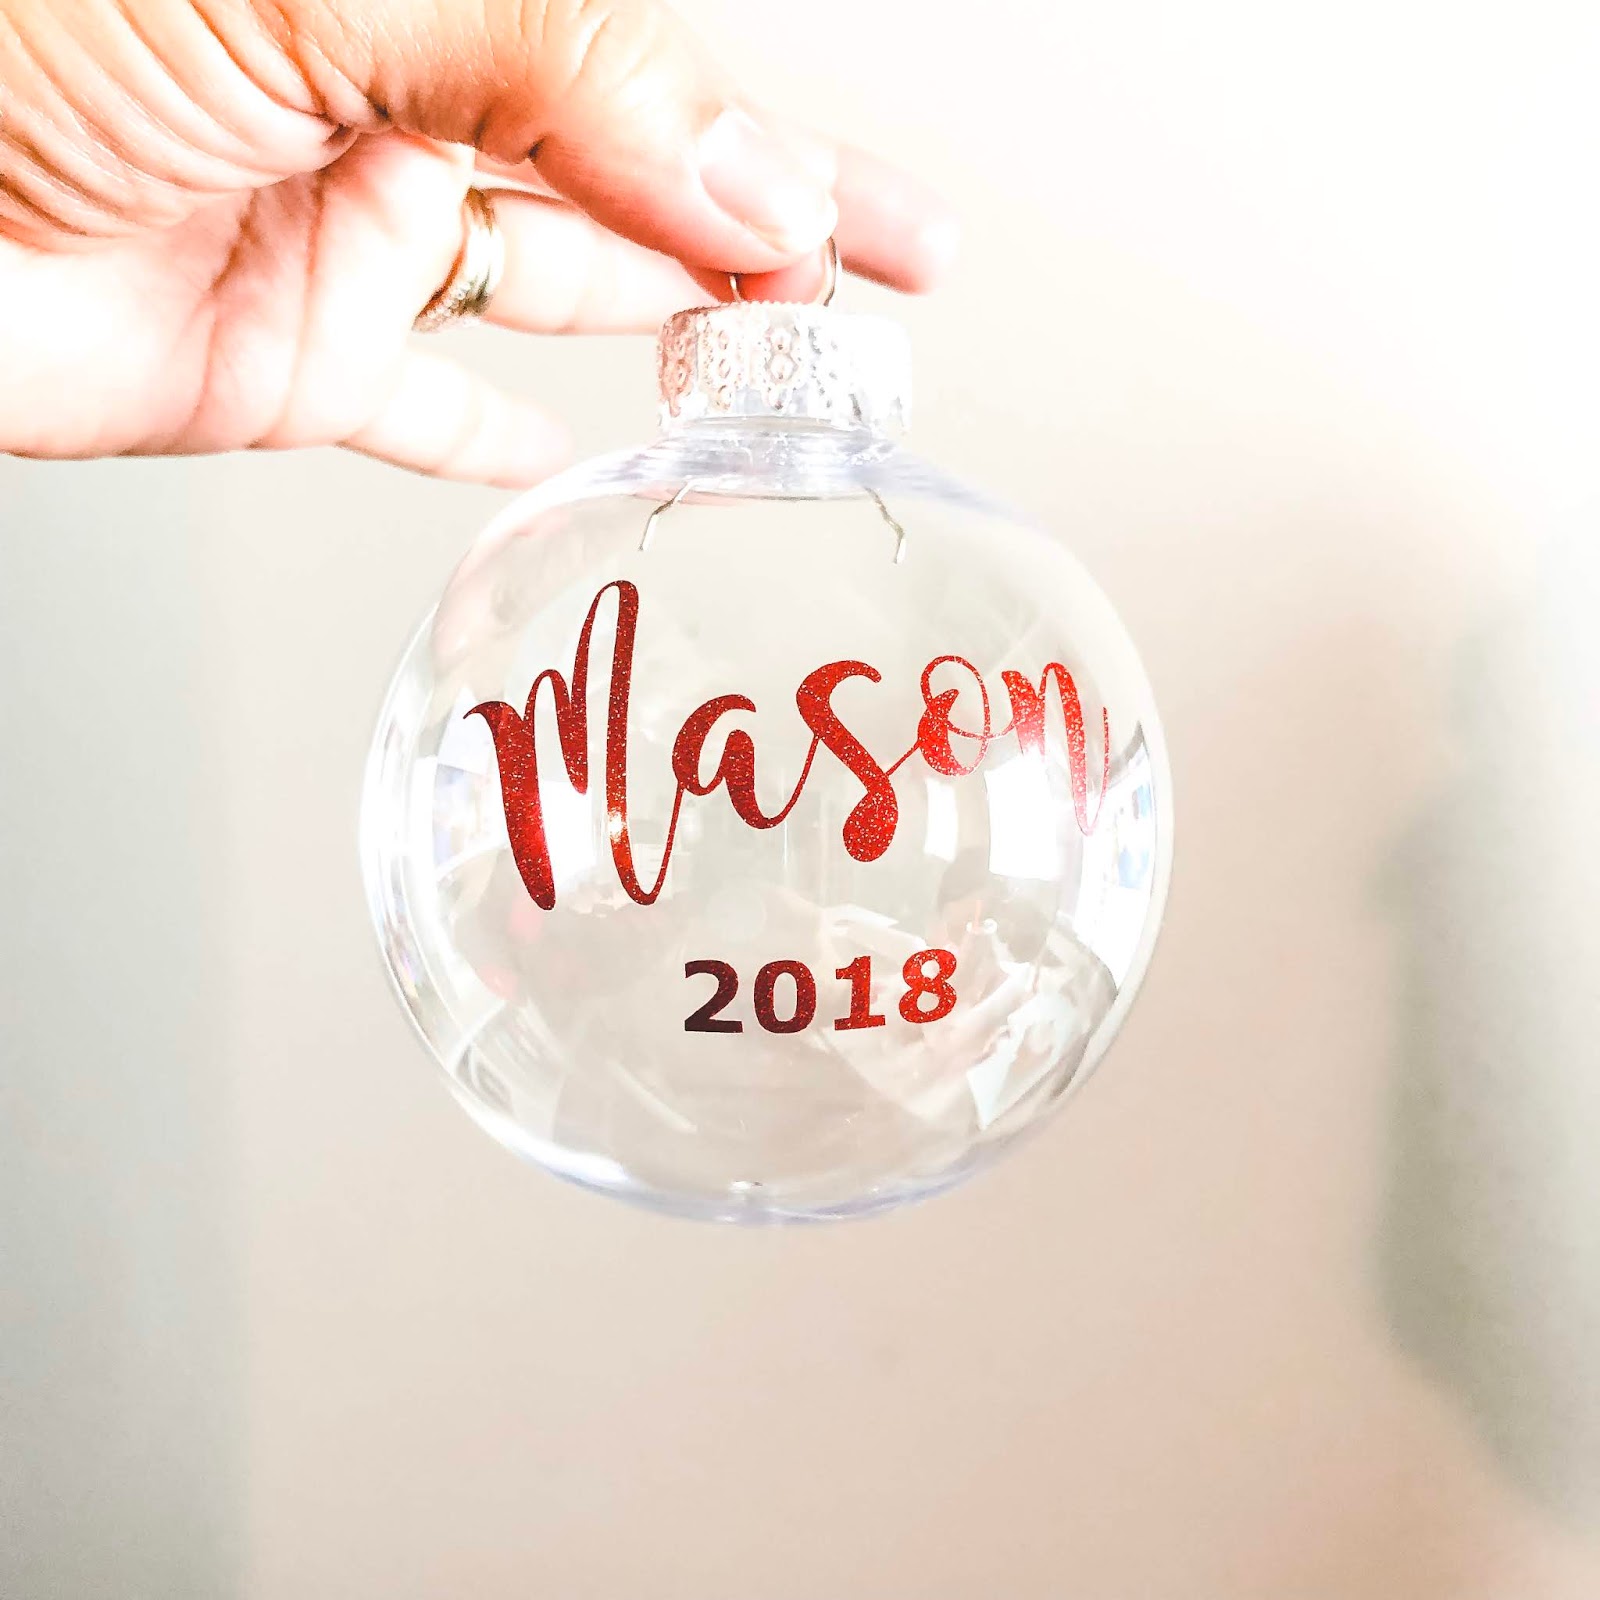
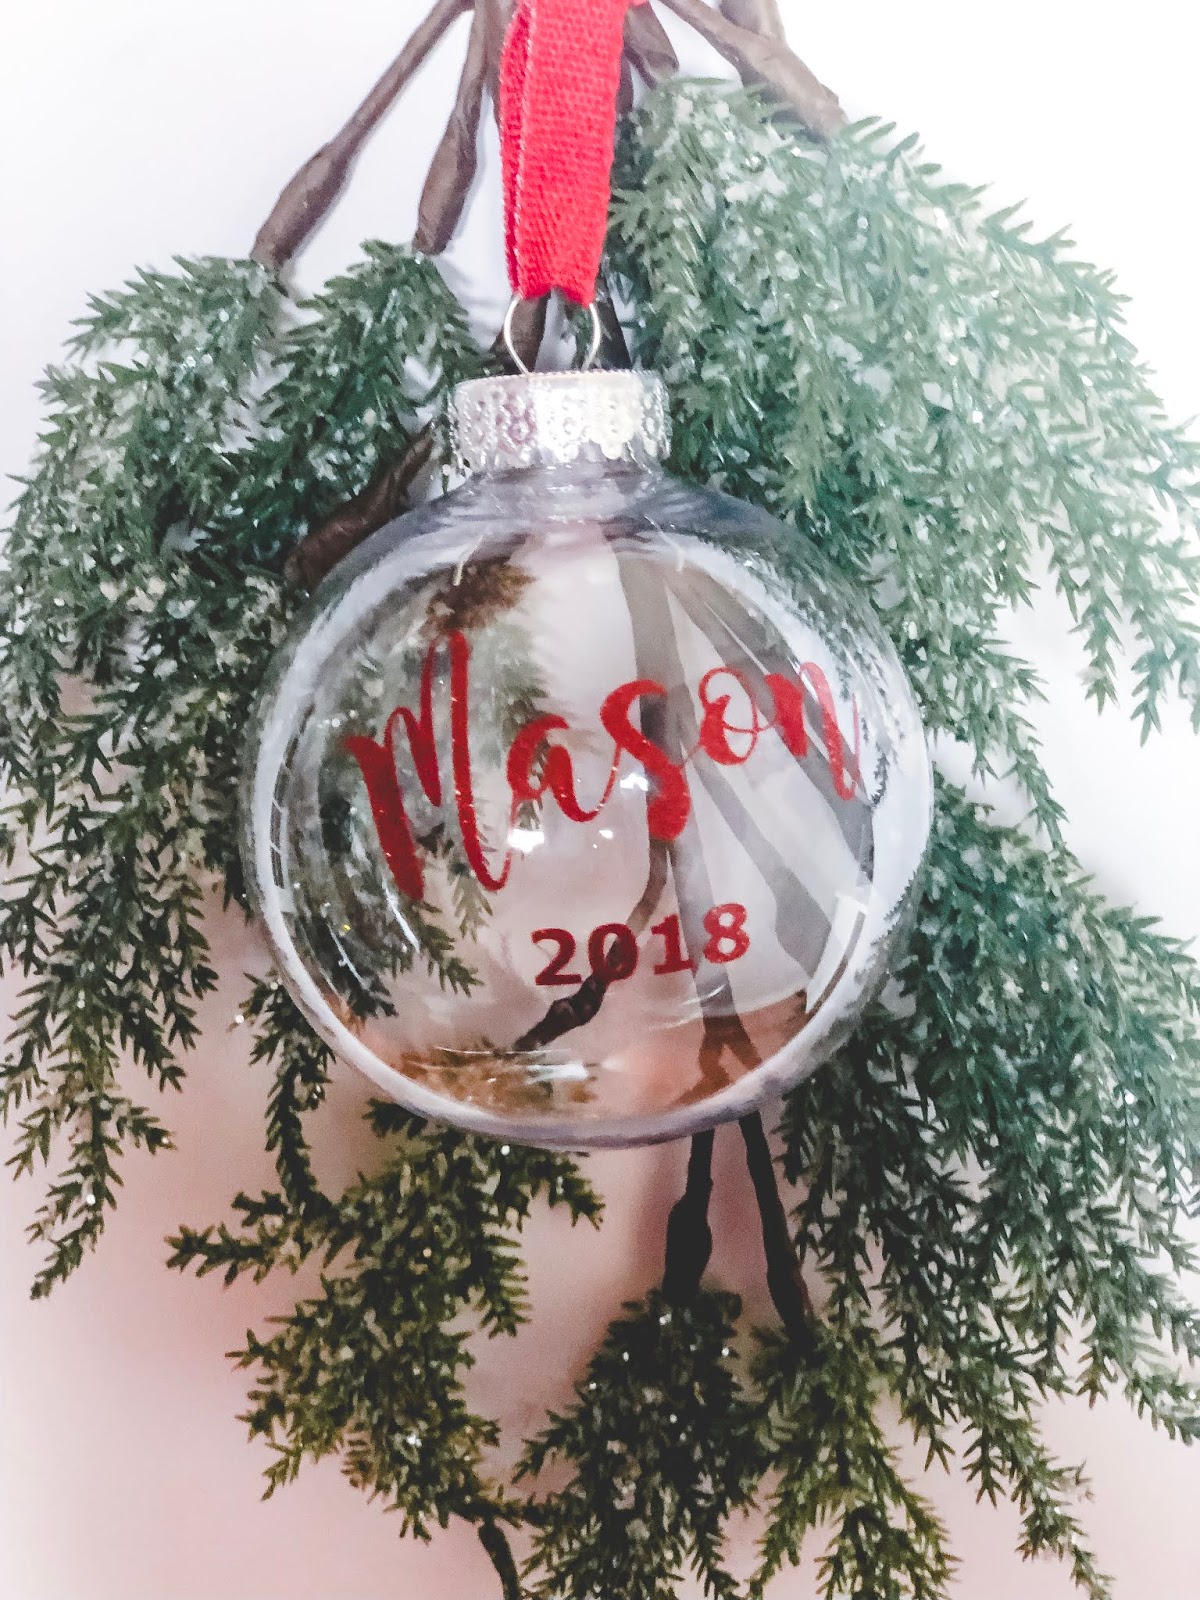
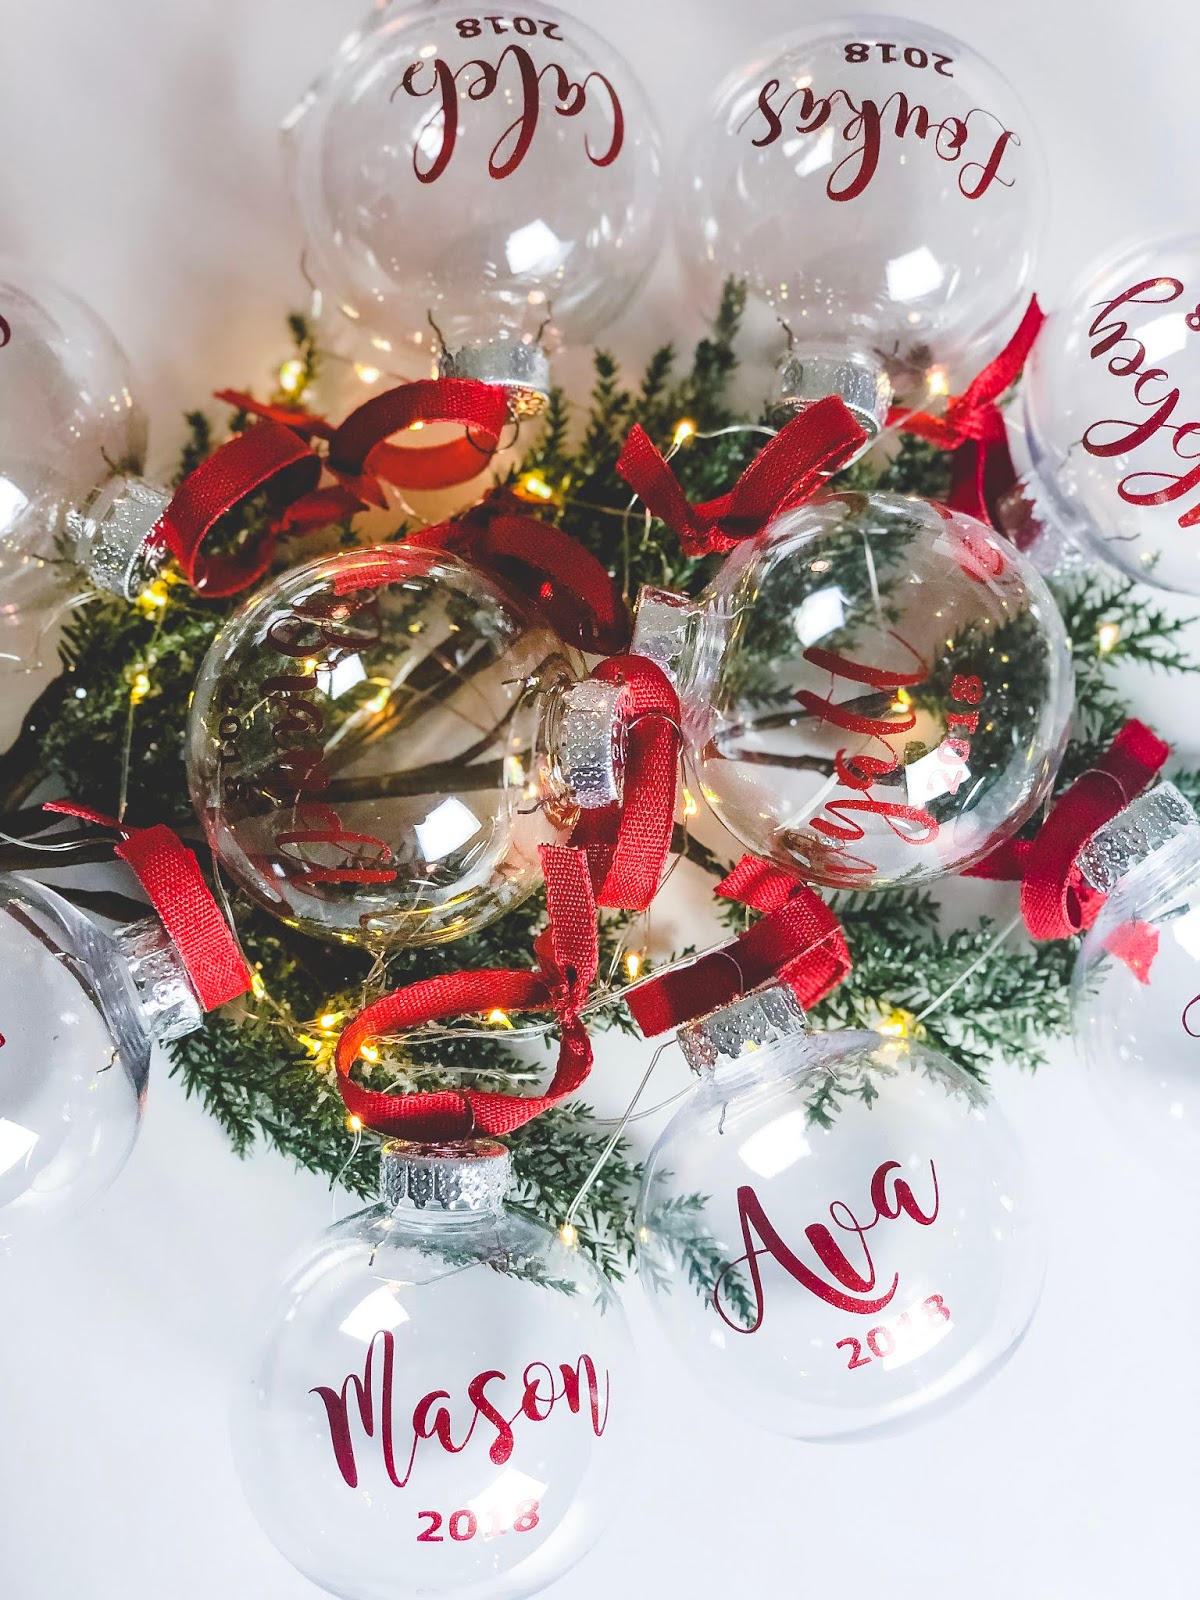
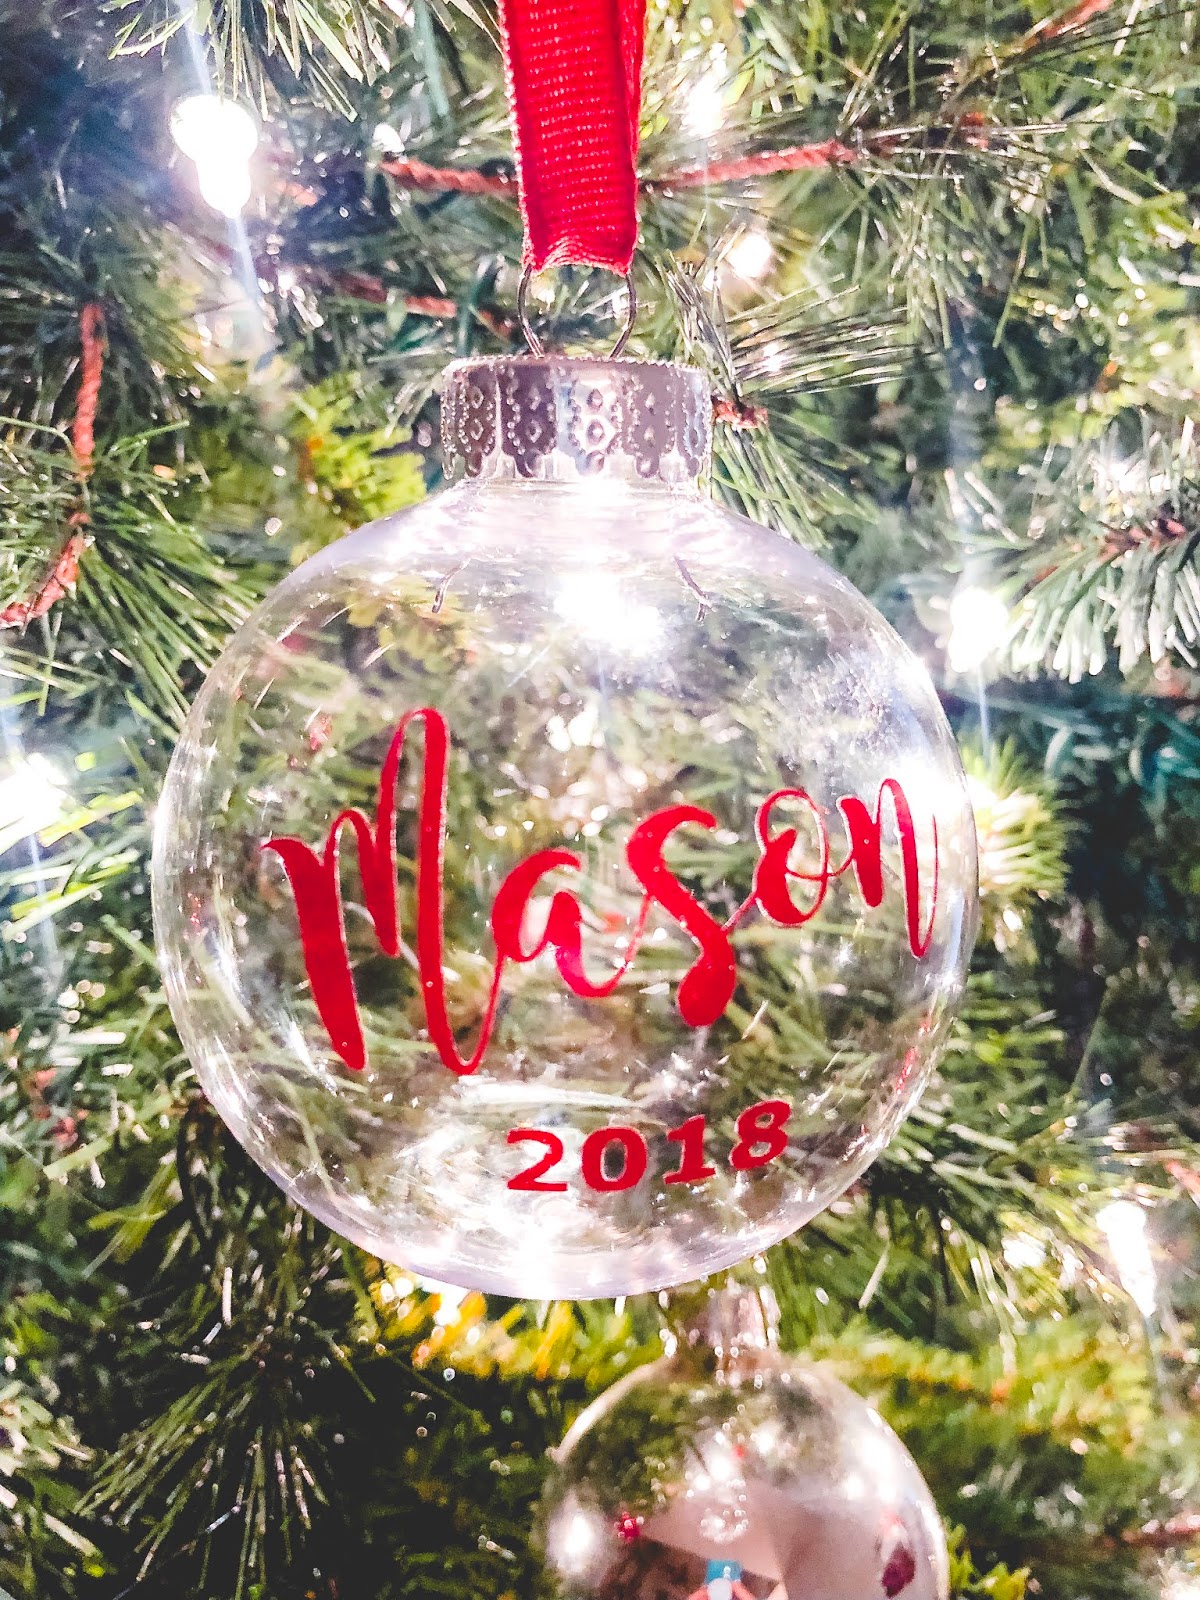
Yesterday was Mason’s classroom Christmas party and I was the room mom. The Fall party was great and while I never felt like I had to do better, I did know that I wanted it to be fun and that each kid would get to take something home with them that would help them remember it. Most party’s have a craft and possibly a game. I decided that we would do a craft and a book exchange for this one, hence where the personalized ornaments came in. I was only up until 1AM making them. My fault for procrastinating, but with going out of town the weekend prior and then working, the night before was crunch time. They turned out great, so I’m going to share with you what you’ll need for these ornaments along with links on where to buy all of the things all year round.

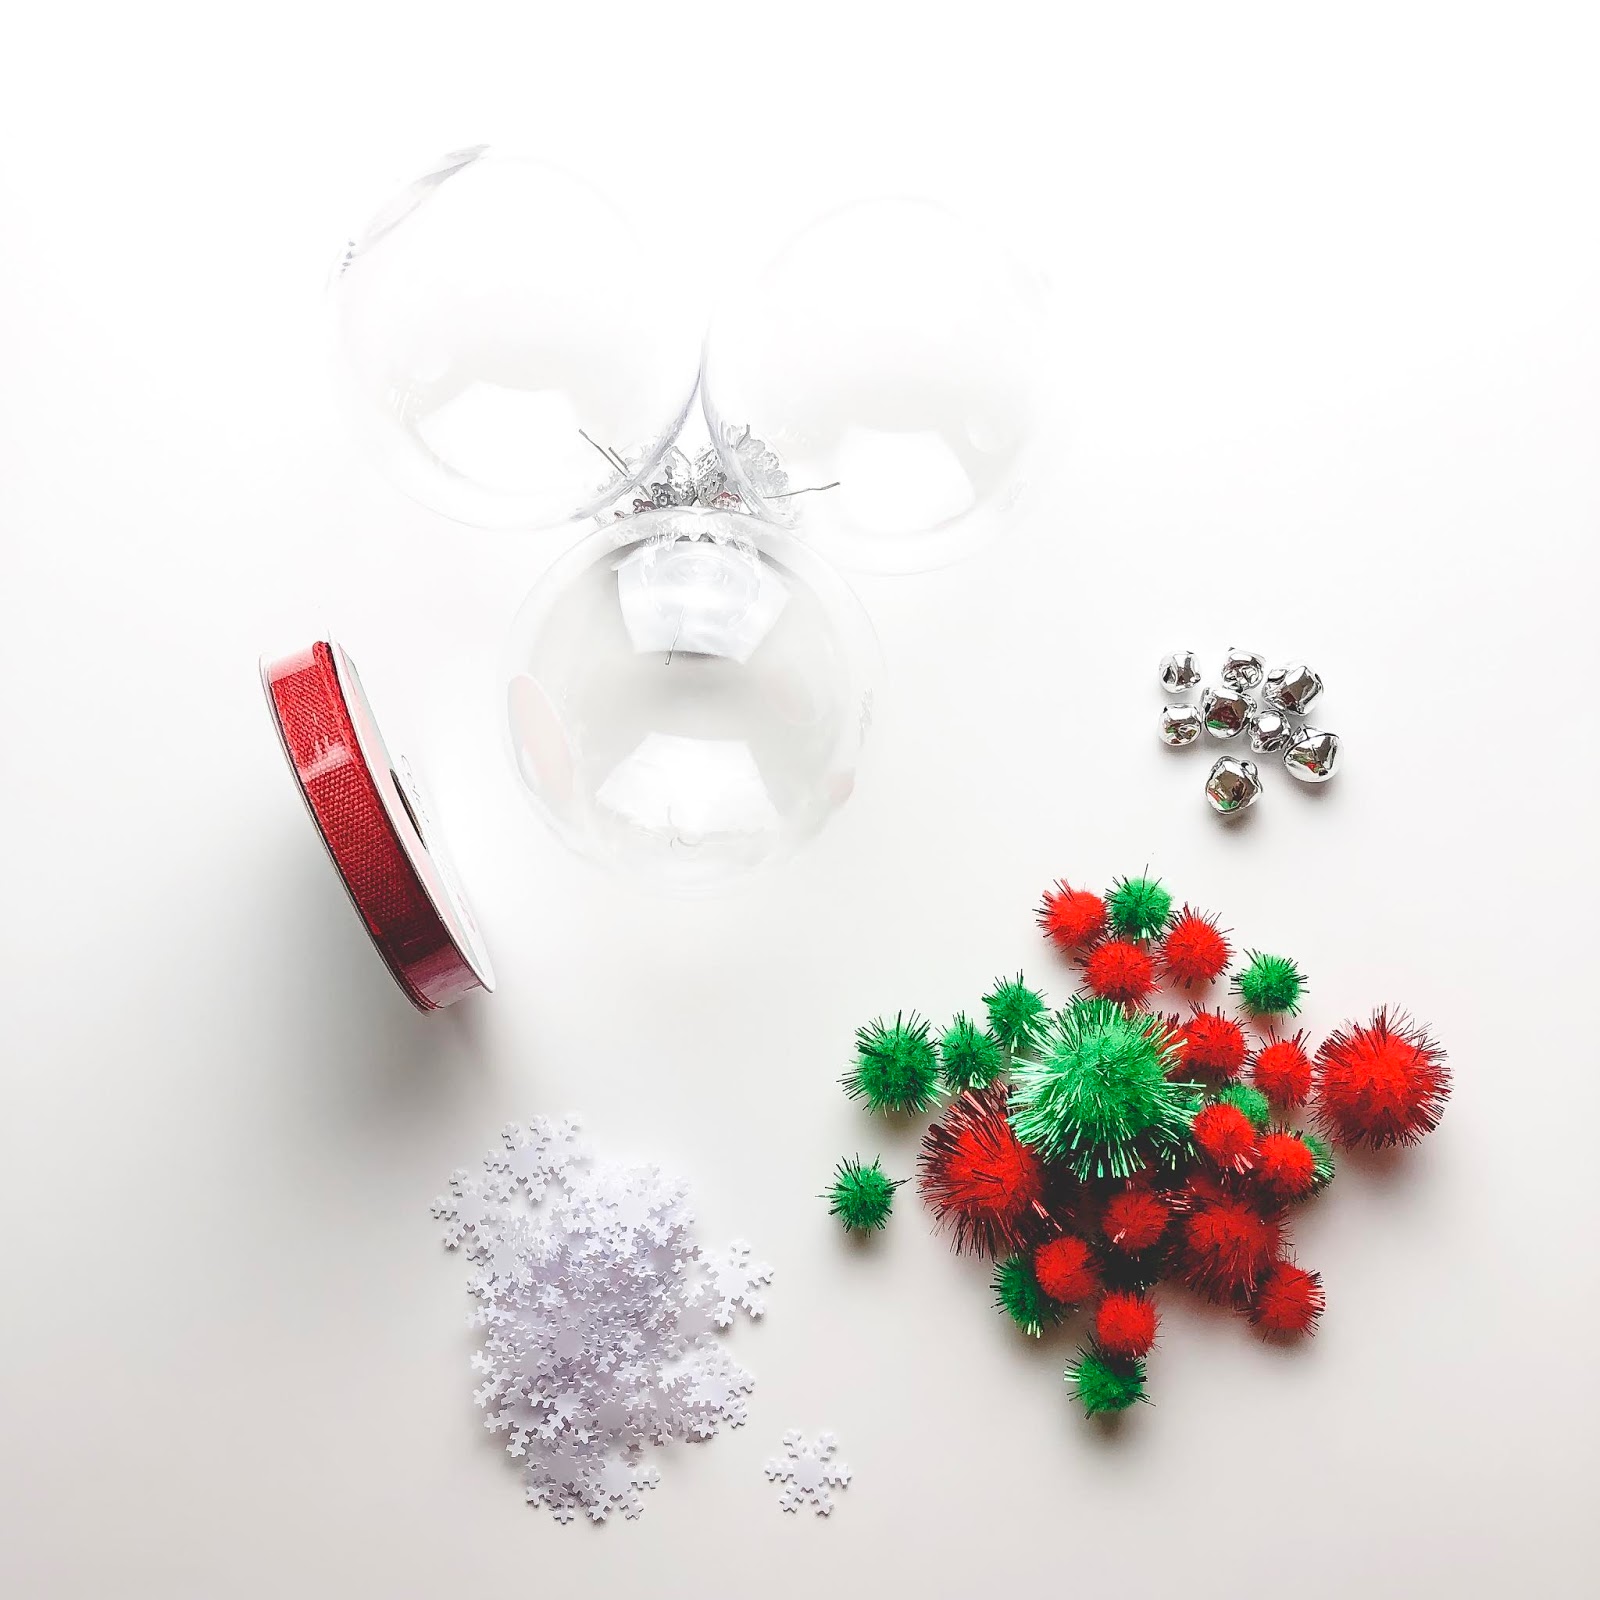
First things first, you’ll need the ornaments. I purchased these specific ornaments at Michael’s for a pack of 6 at 60% off. SCORE!!! I personally wanted plastic since kids would be handling them. I would have loved glass, but we all know how that would have ended (insert crying sad kid, including me)! They come in all sorts of sizes. I chose the middle size, not too small and not too large since they were going to be stuffed with things by the kids. I’ve linked similar ornaments below.

Ornaments

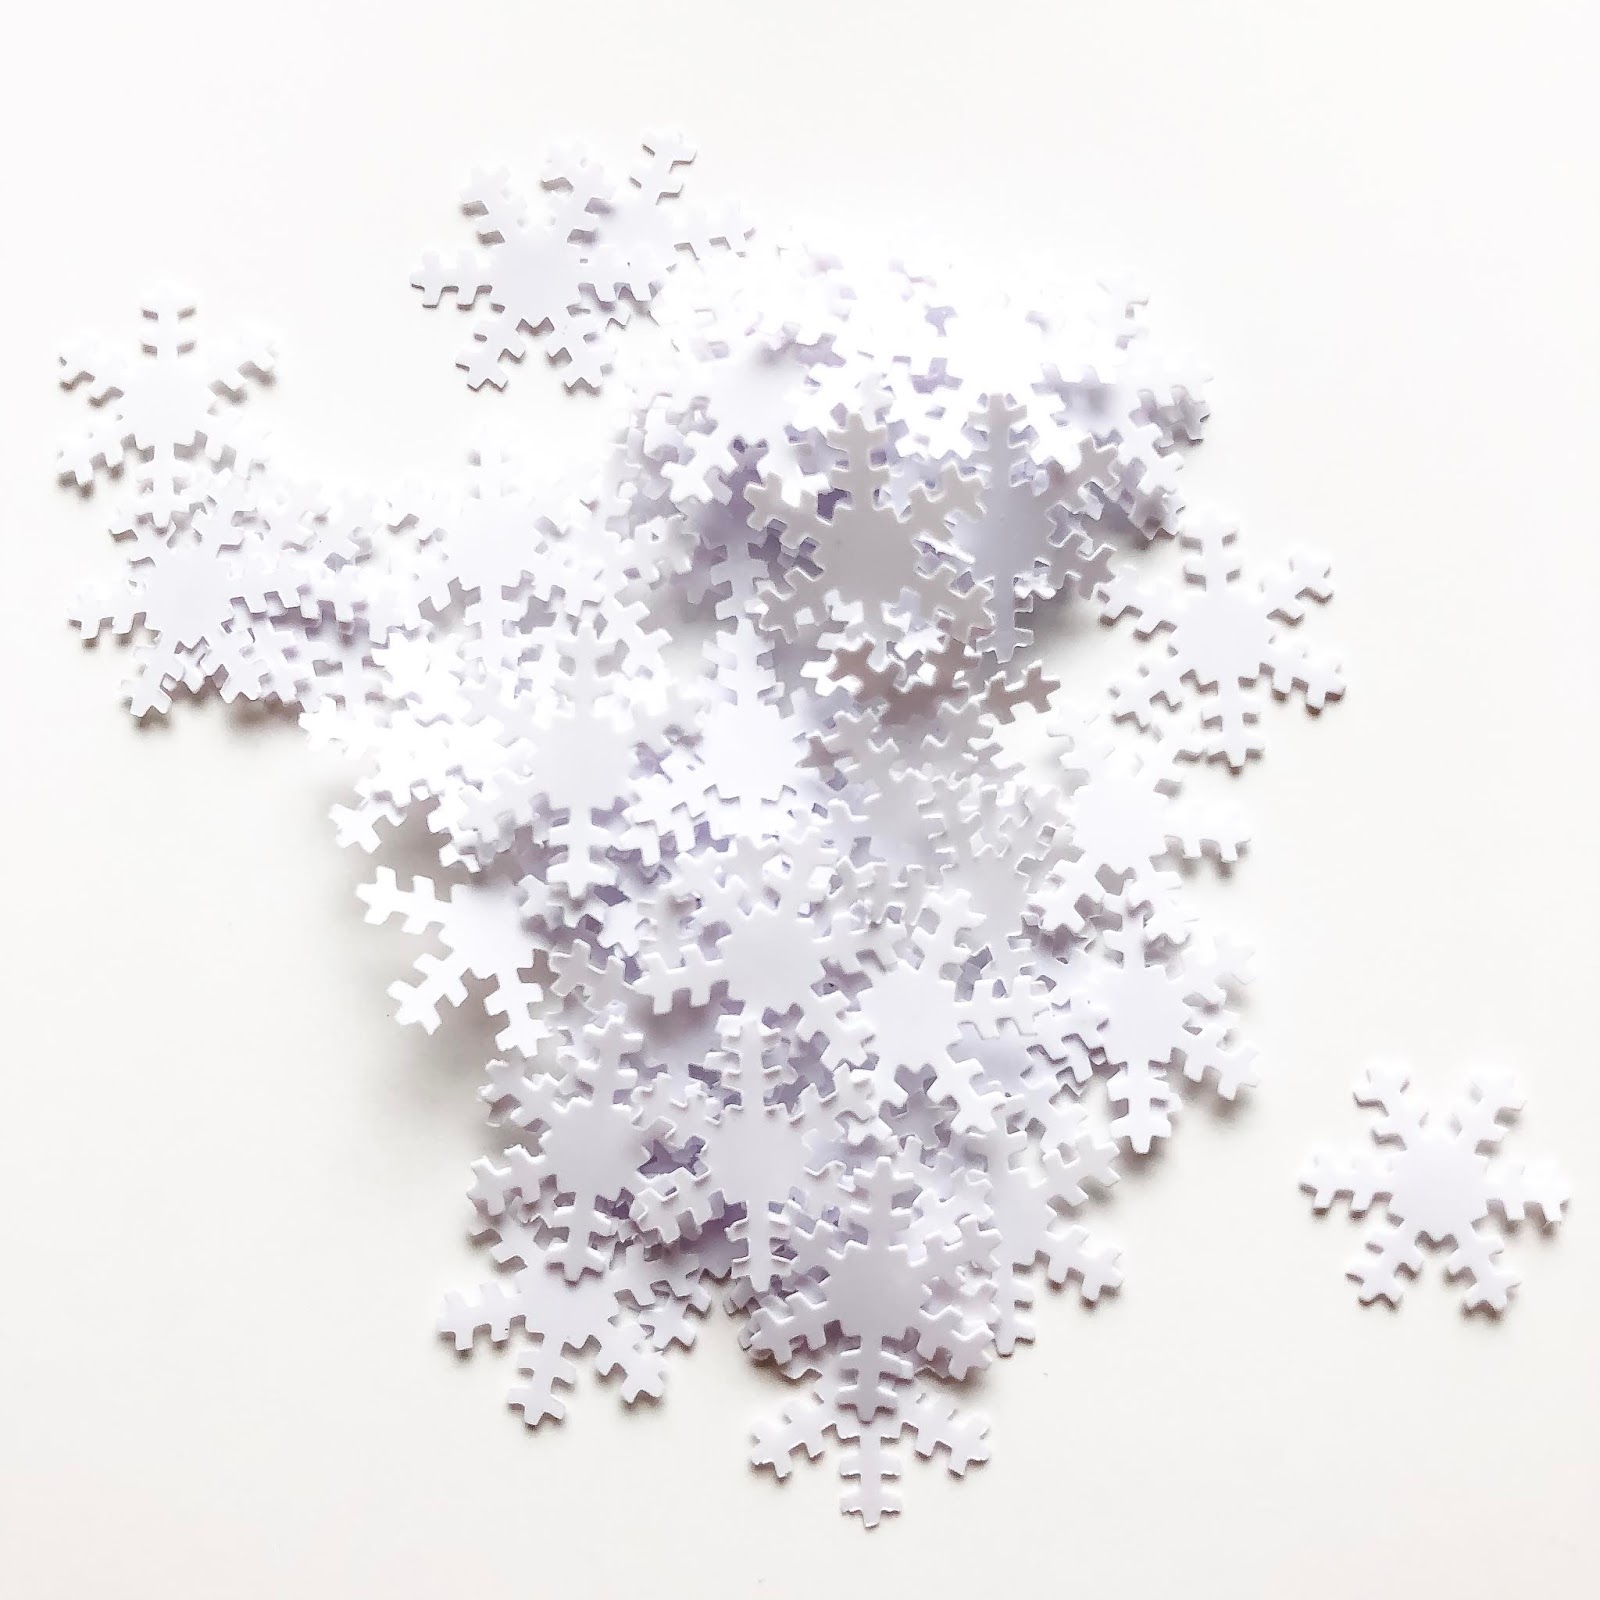
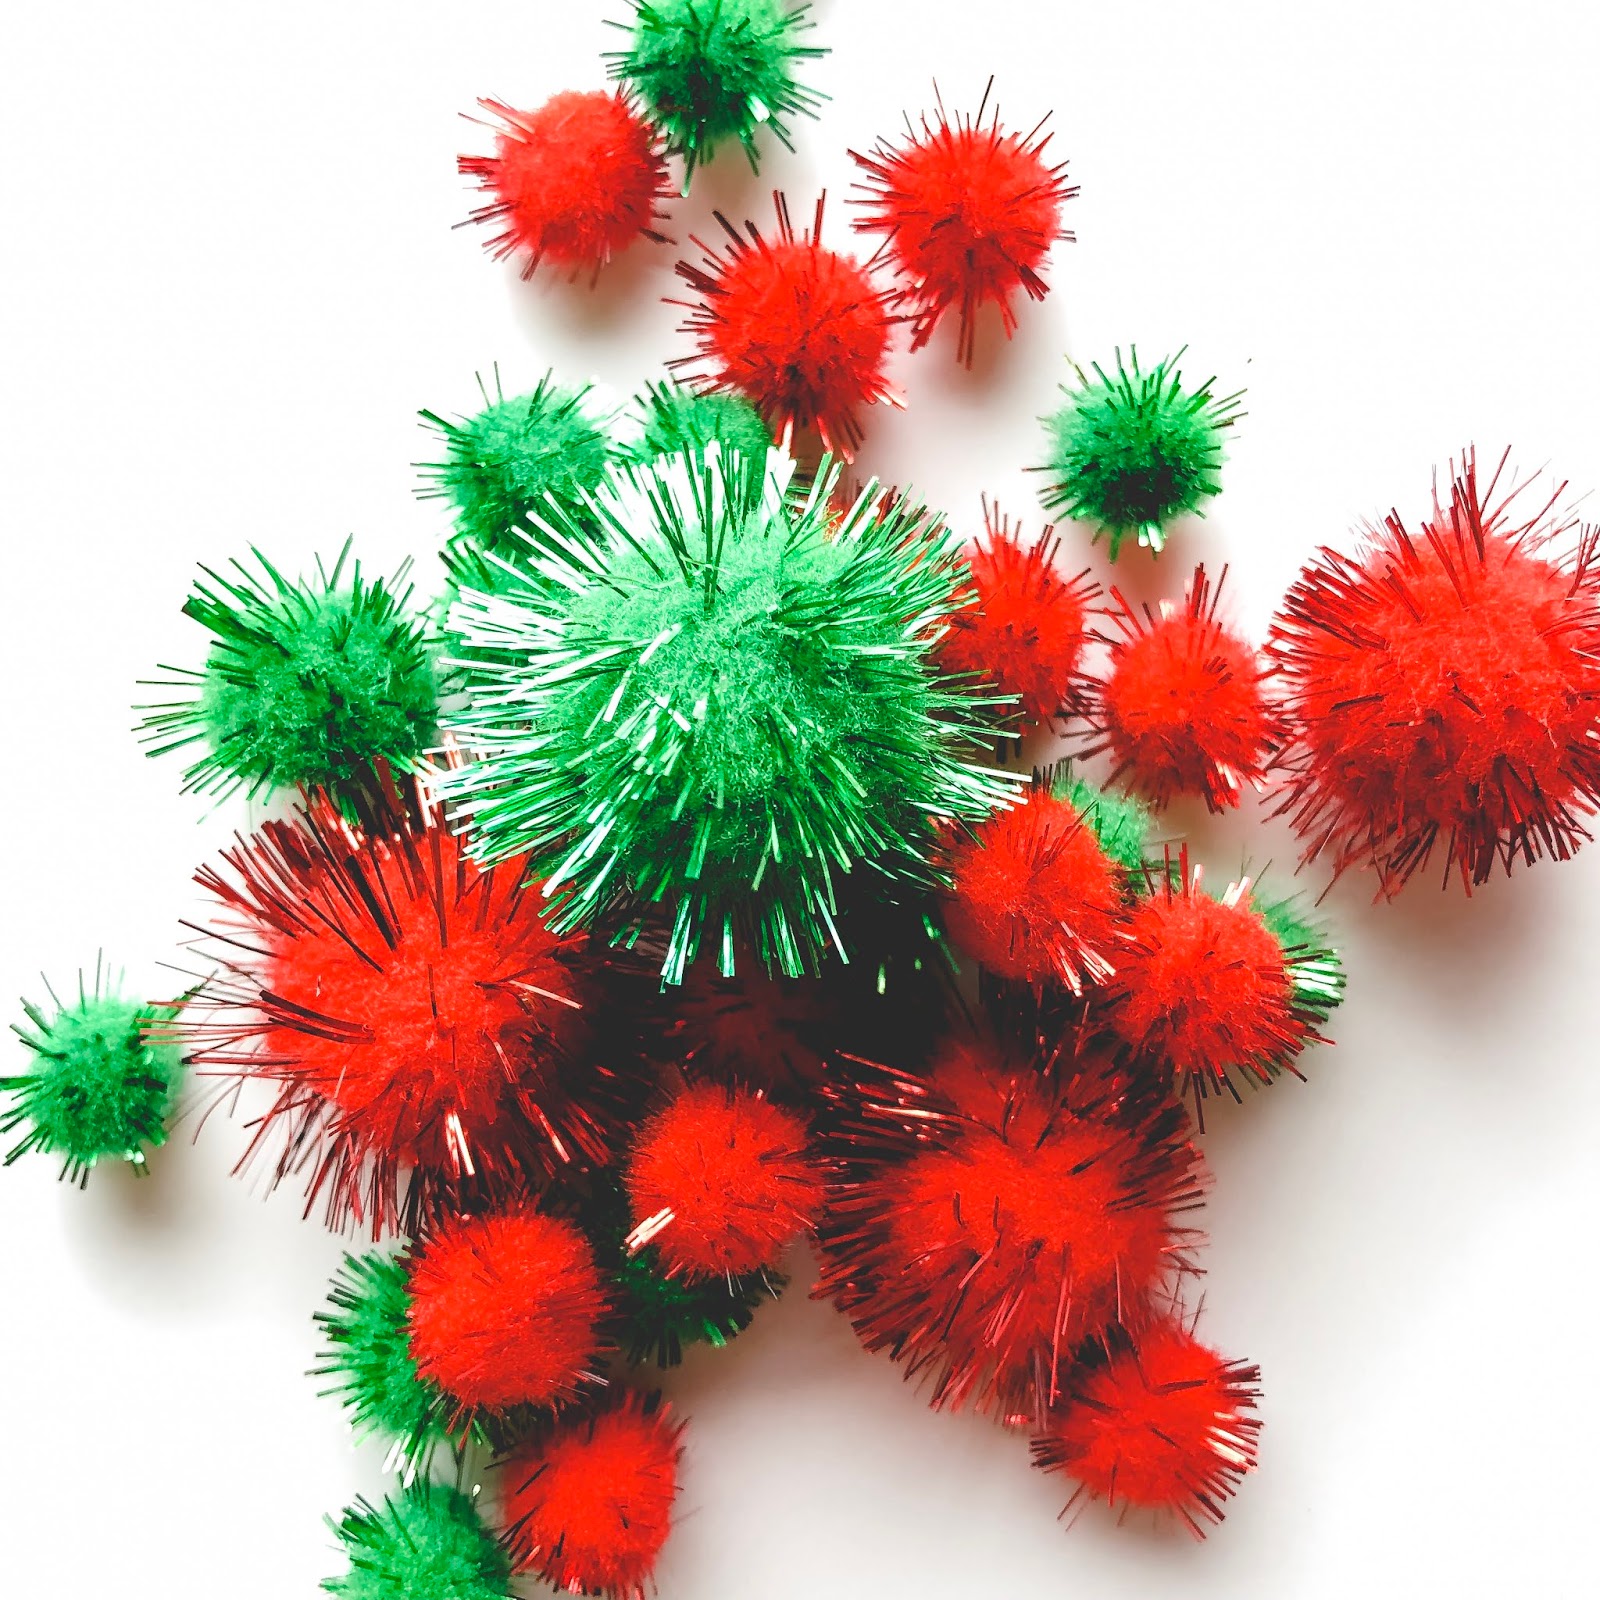
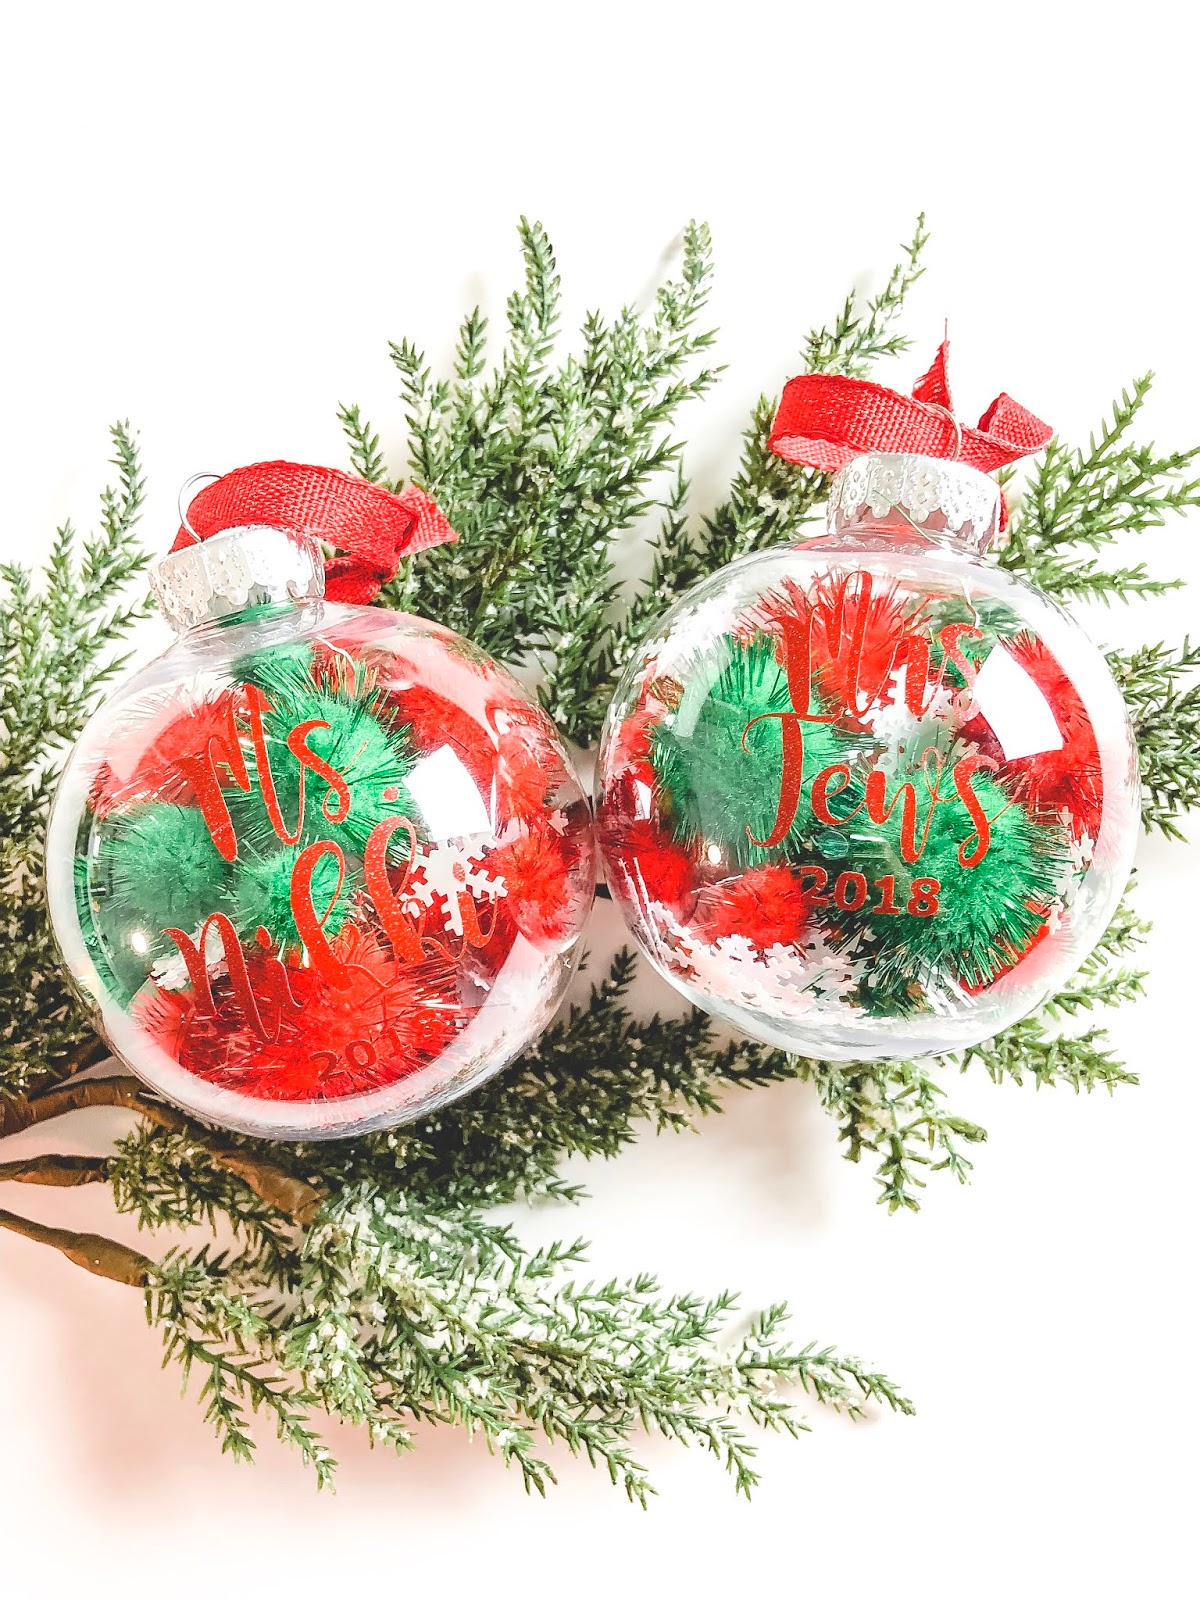
You’ll also need some fun things to place inside of the ornaments. They do look pretty with nothing in them too. You can put glitter, fake snow (so pretty), confetti, pom poms, sequins or bells. For the sake of not creating a giant mess to clean up, I stuck with confetti, felt balls, and bells.

 Confetti
There are SO many options. Pick a confetti that suits your occasion.
 Pom poms
Again tons of colors and options to choose from, just search Pom Pom for crafts.
Craft Bells
So the trick with these is to find some that are small enough to fit in the opening of the ornament.
Ribbon or Twine

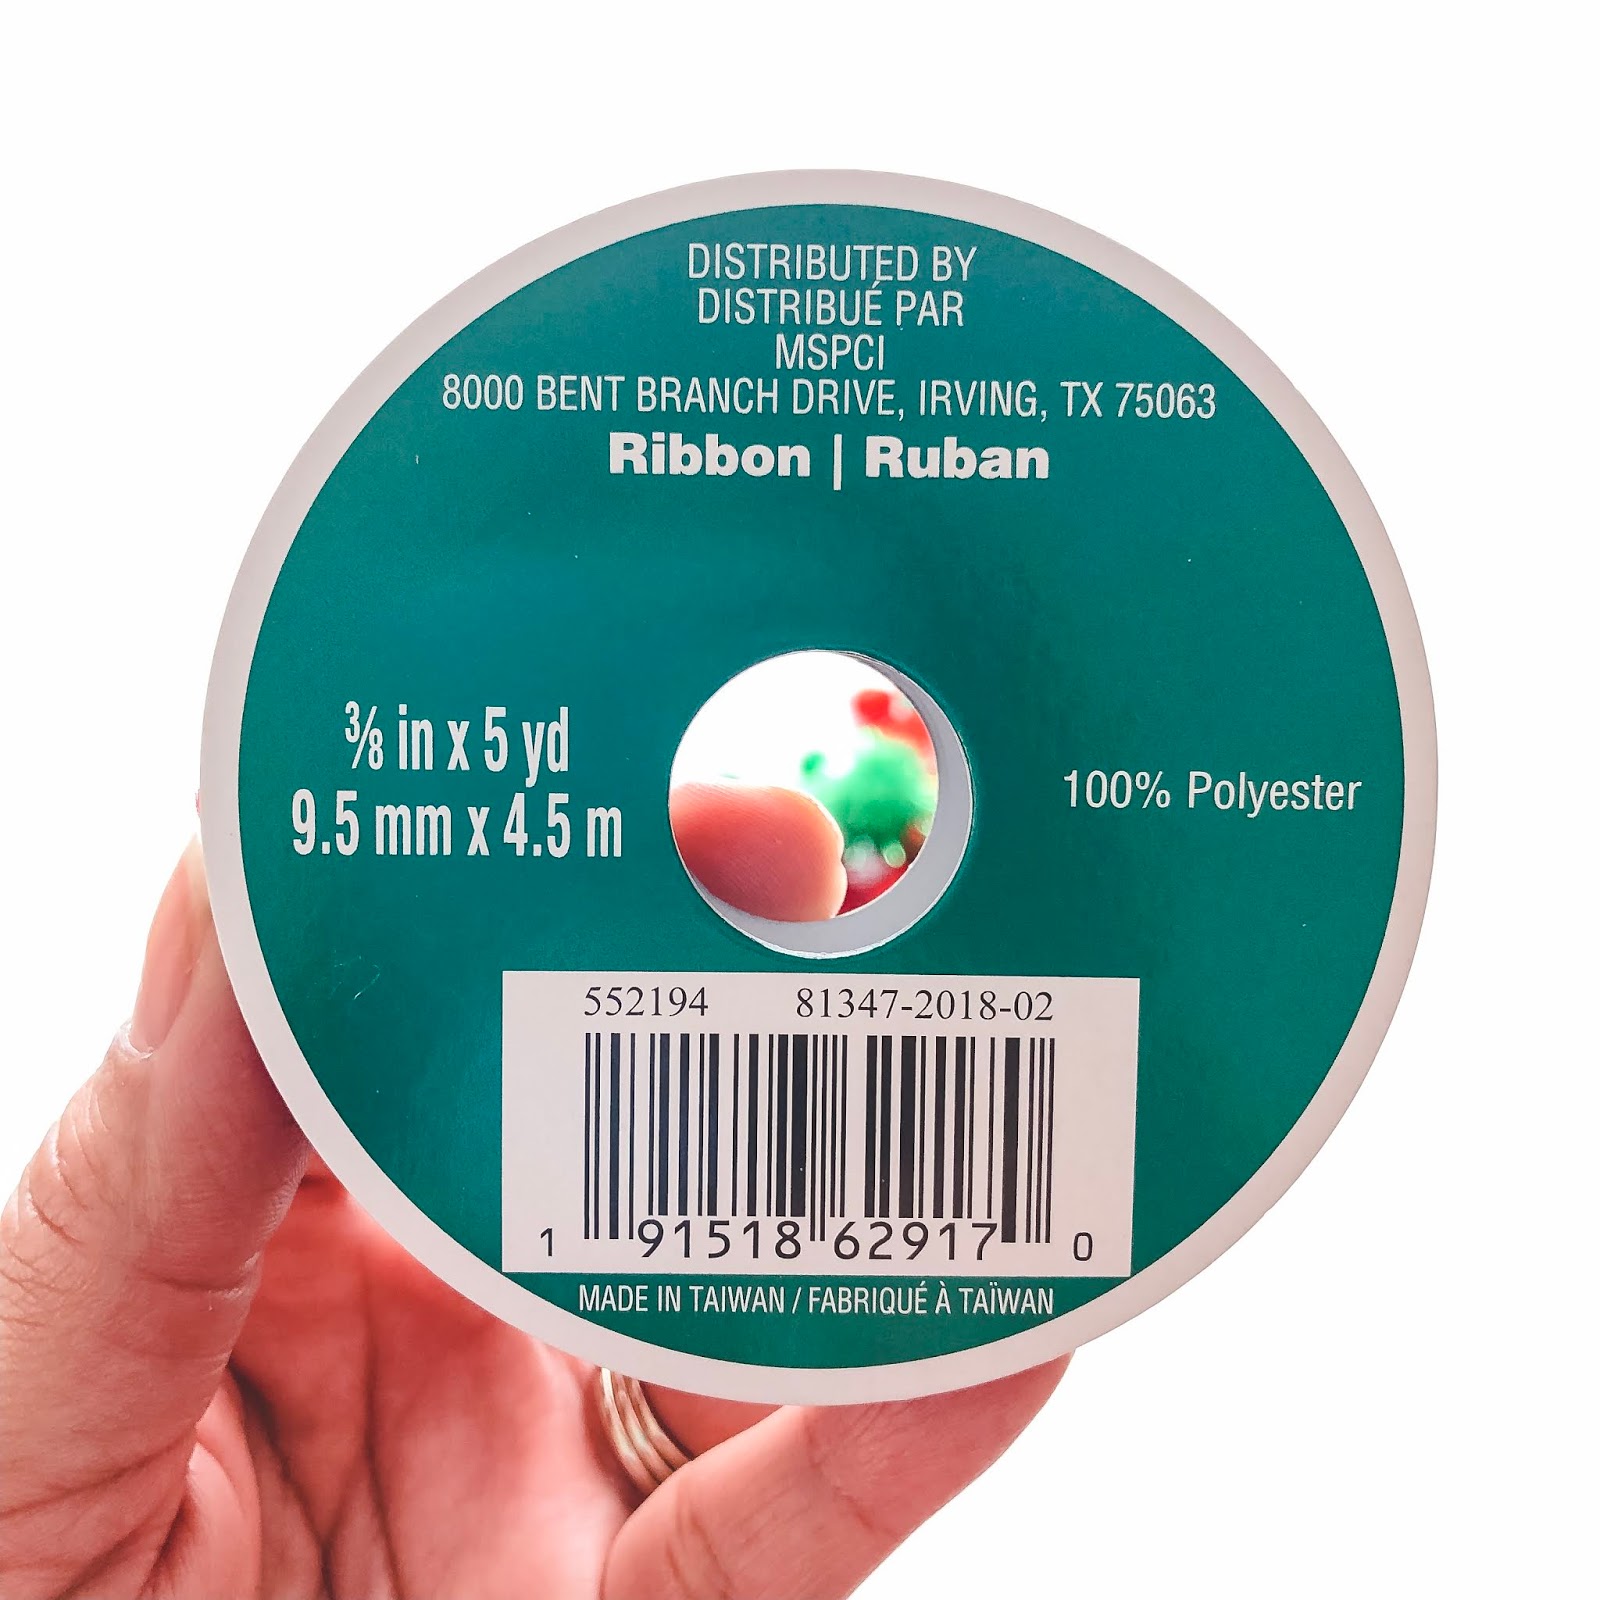
Last but not least you’ll need something to tie on the top of the ornament for them to hang it with. I chose red ribbon, but you could also use twine. When choosing a ribbon, do not get satin because it will run. Grosgrain is a good ribbon to choose from. The ribbon I linked isn’t the one I used, but it’s a  good one. Your options are endless when it comes to colors and prints on ribbon, so get creative and pick a fun one.

Vinyl
I forgot to snap a picture of the vinyl I bought. I got it from a local vinyl shop and it was a red glitter vinyl, but whatever you choose to use just make sure it’s permanent. Oracal 651 is the best permanent vinyl for projects. I linked a similar vinyl above, but it includes other colors.

Next are all the fine details of cutting the decals out on my Silhouette. I chose an elegant font which is why it took me much longer to weed out the names. If you’re in a rush choose a chunkier font without details or fine lines, maybe like a block monogram. If you do not own a vinyl cutter like a Silhouette or a Cricut, you could probably purchase the decals on Etsy and then place them yourself. After you’ve weeded out the unwanted parts of the vinyl you will then use transfer tape to place the decal on the ornament. Pretty easy, but good thing I only had 12 to make. I added names and the year, since I hoped that it would be more of a keepsake ornament. I personally love collecting those over the years.

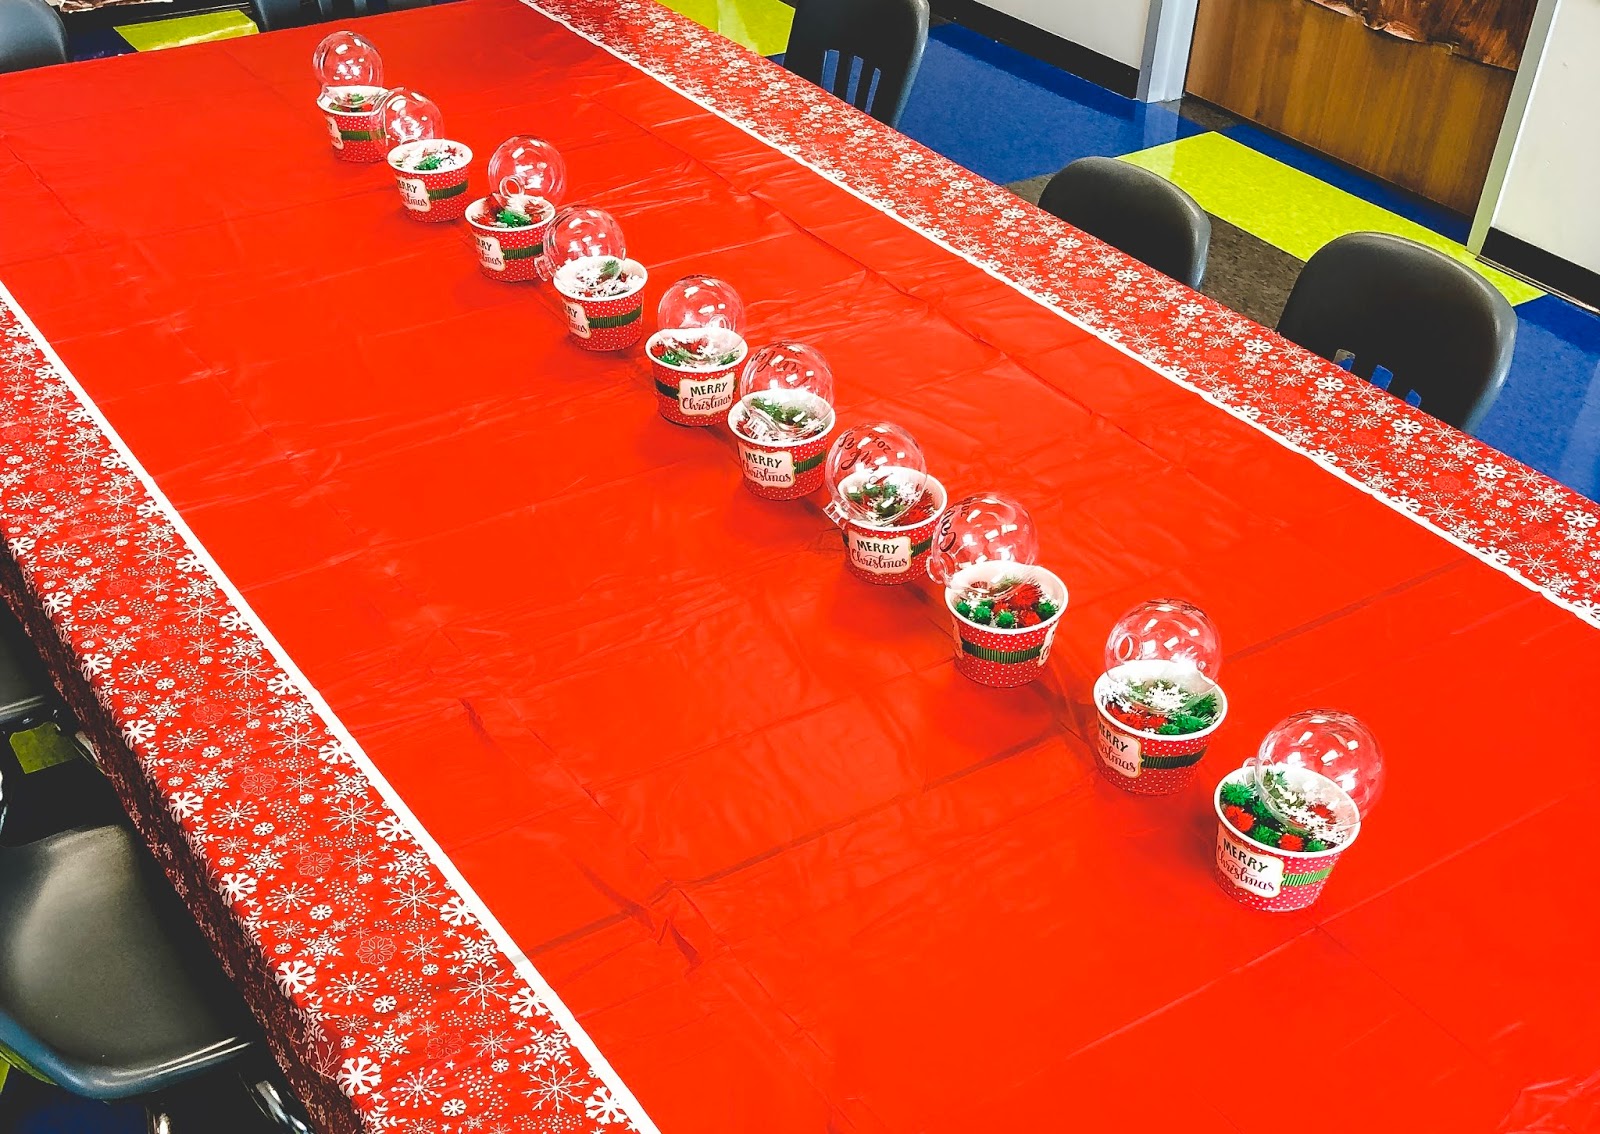
The final unfilled ornaments looked like this.

I made also made some for the teacher, but I filled them with the same items that the kids would be filling theirs with. So, this would be the final look.
For the party I placed all of the filler items in a small dessert bowl that I purchased at Hobby Lobby. I took the tops off and let the parents put them back on when their kid was done.  I didn’t want kids poking themselves or others. If you have older kids or adults you could set up an ornament bar where they pick and choose different things to fill their ornaments with.
The ornaments were a hit with all of the moms. They all loved them. One mom even said she thought it should go on their “good” tree. We all know what that means…it’s the tree that the kids don’t touch and all of the nicer ornaments go on. I call that a win and staying up until 1AM was totally worth it. I might find myself making all kinds of ornaments in the future!


Christmas Crafts, Crafting, DIY

About Denise

Previous: His and Hers Holiday Gift Guide
Next: Merry Christmas

Leave a Reply Cancel reply

Your email address will not be published. Required fields are marked *

Recipe Rating


About Me

About Me

Welcome to Incredibly Blessed Nest! I'm Denise, the person behind this little blog. For more about me, click on About at the top of this page. Grab a drink, stay awhile, and enjoy our {Incredibly Blessed Nest}.

Recent Posts

  • Mason Grey {Turns 8}
  • House Progress
  • We’re Building a Home!
  • Lollipop Baby Camera
  • Christmas Morning Magic

On The Gram

Follow on Instagram
Design by SkyandStars.co
Back Top

Copyright © 2025. Incredibly Blessed Nest